1. 阿里云上docker中wordpress启用ssl https
看过我博客的都知道,前面好不容易自己写springboot,然后连接mysql,然后自己写前端界面,搞完了以后,以现自己建的网站,工作量实在是太大了,然后SEO 做得还不怎么好,导致 Google 收录率很低,所以搞了半天,请教了一下SEO的同学,说你可以直接搞个wordpress啊。
然后 就用 docker 搭了一个 wordpress。
然后因为前期启动 docker 是直接用下面命令启动的:
docker run --name some-wordpress -p 8080:80 -d wordpress然后就抑制不住兴奋的直接在网站上搞了几十篇博文,搞完后,才想起来,要搞个 https,然后 用了 ssl 插件,Top 3 都用了,不管用。
于是考虑自己动手解决了。
2. 解决方案
2.1 首先要去搞个证书,传到阿里云服务器上
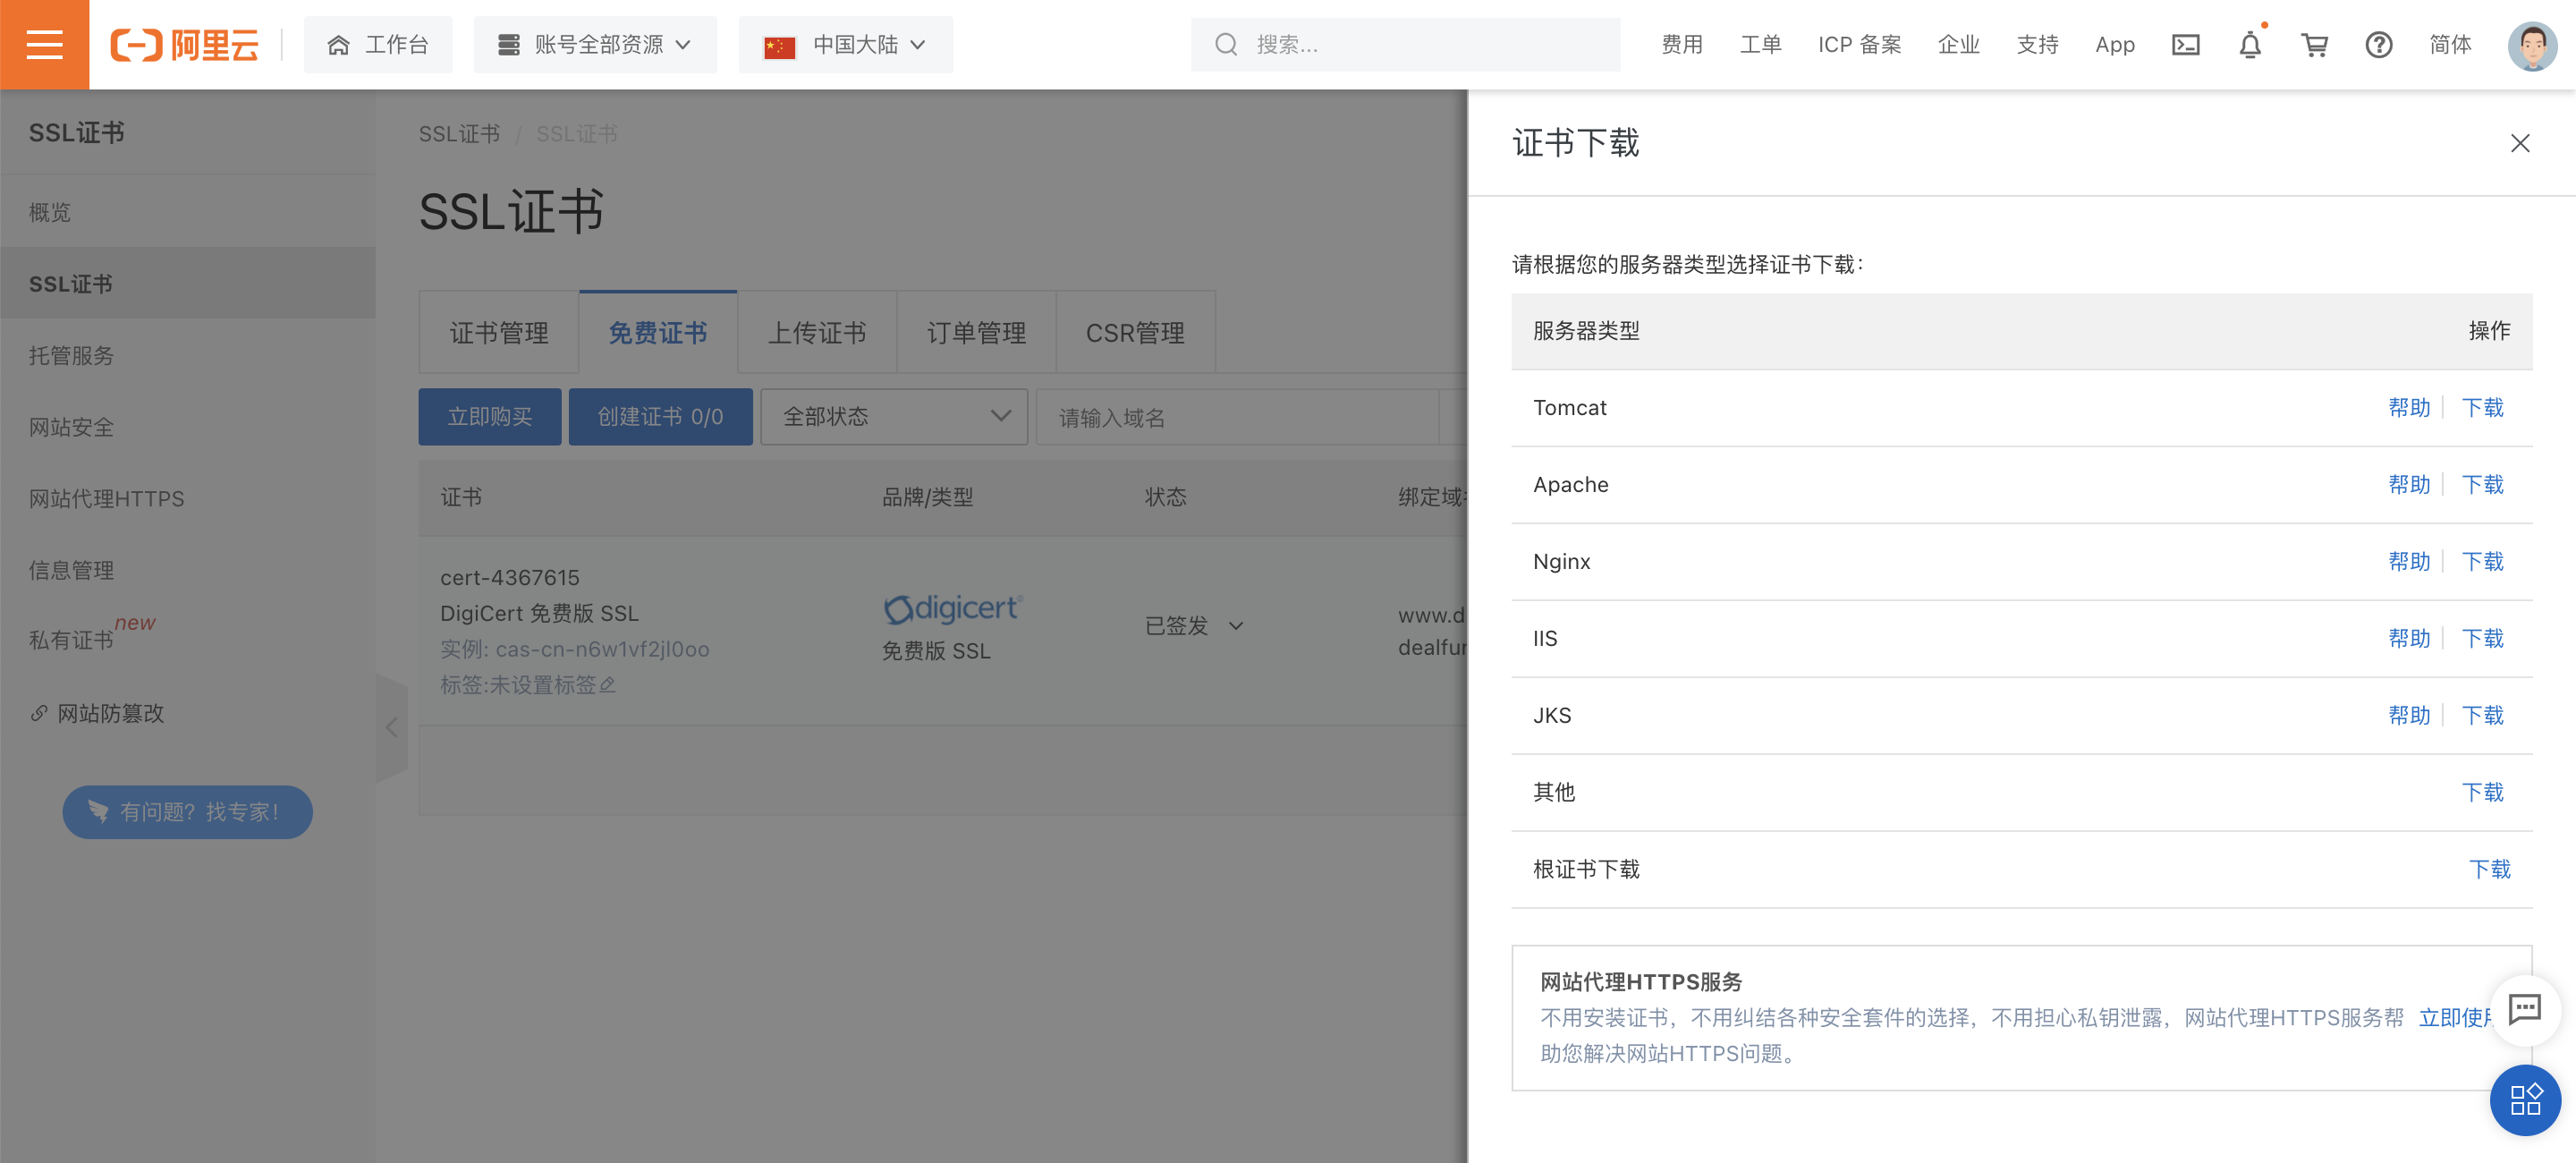
然后下载apache的证书下来,解压后如下截图:

我们需要把这三个证书通过 scp 上传到我们阿里云服务器上:
panchenxing@IT-C02YD3FGJHD2 SpringBootWithDocker % scp  -r ~/Downloads/ssl root@47.251.8.226:ssl
root@47.251.8.226's password:
4627742_www.dealfuns.com_public.crt                                                                                                       100% 1996    13.6KB/s   00:00
4627742_www.dealfuns.com_chain.crt                                                                                                        100% 1679     9.6KB/s   00:00
4627742_www.dealfuns.com.key                                                                                                              100% 1675    11.4KB/s   00:00
panchenxing@IT-C02YD3FGJHD2 SpringBootWithDocker %
2.2 阿里云服务器上启动 wordpress 相关内容
直接执行如下命令:
root@iZrj9gb52c9au41thyk22oZ:~# docker run --name dealfunswordpress -p 80:80 -p 443:443 -v /root/wordpress:/var/www/html -v /root/ssl:/ssl -d wordpress
44e1f069560cf98c82165dca81f07cf36dda569333e5281b8378135f0fd3163b
root@iZrj9gb52c9au41thyk22oZ:~#
如果没有下载 wordpress 镜像的话,会自动下载的。
然后通过域名访问: http://www.dealfuns.com
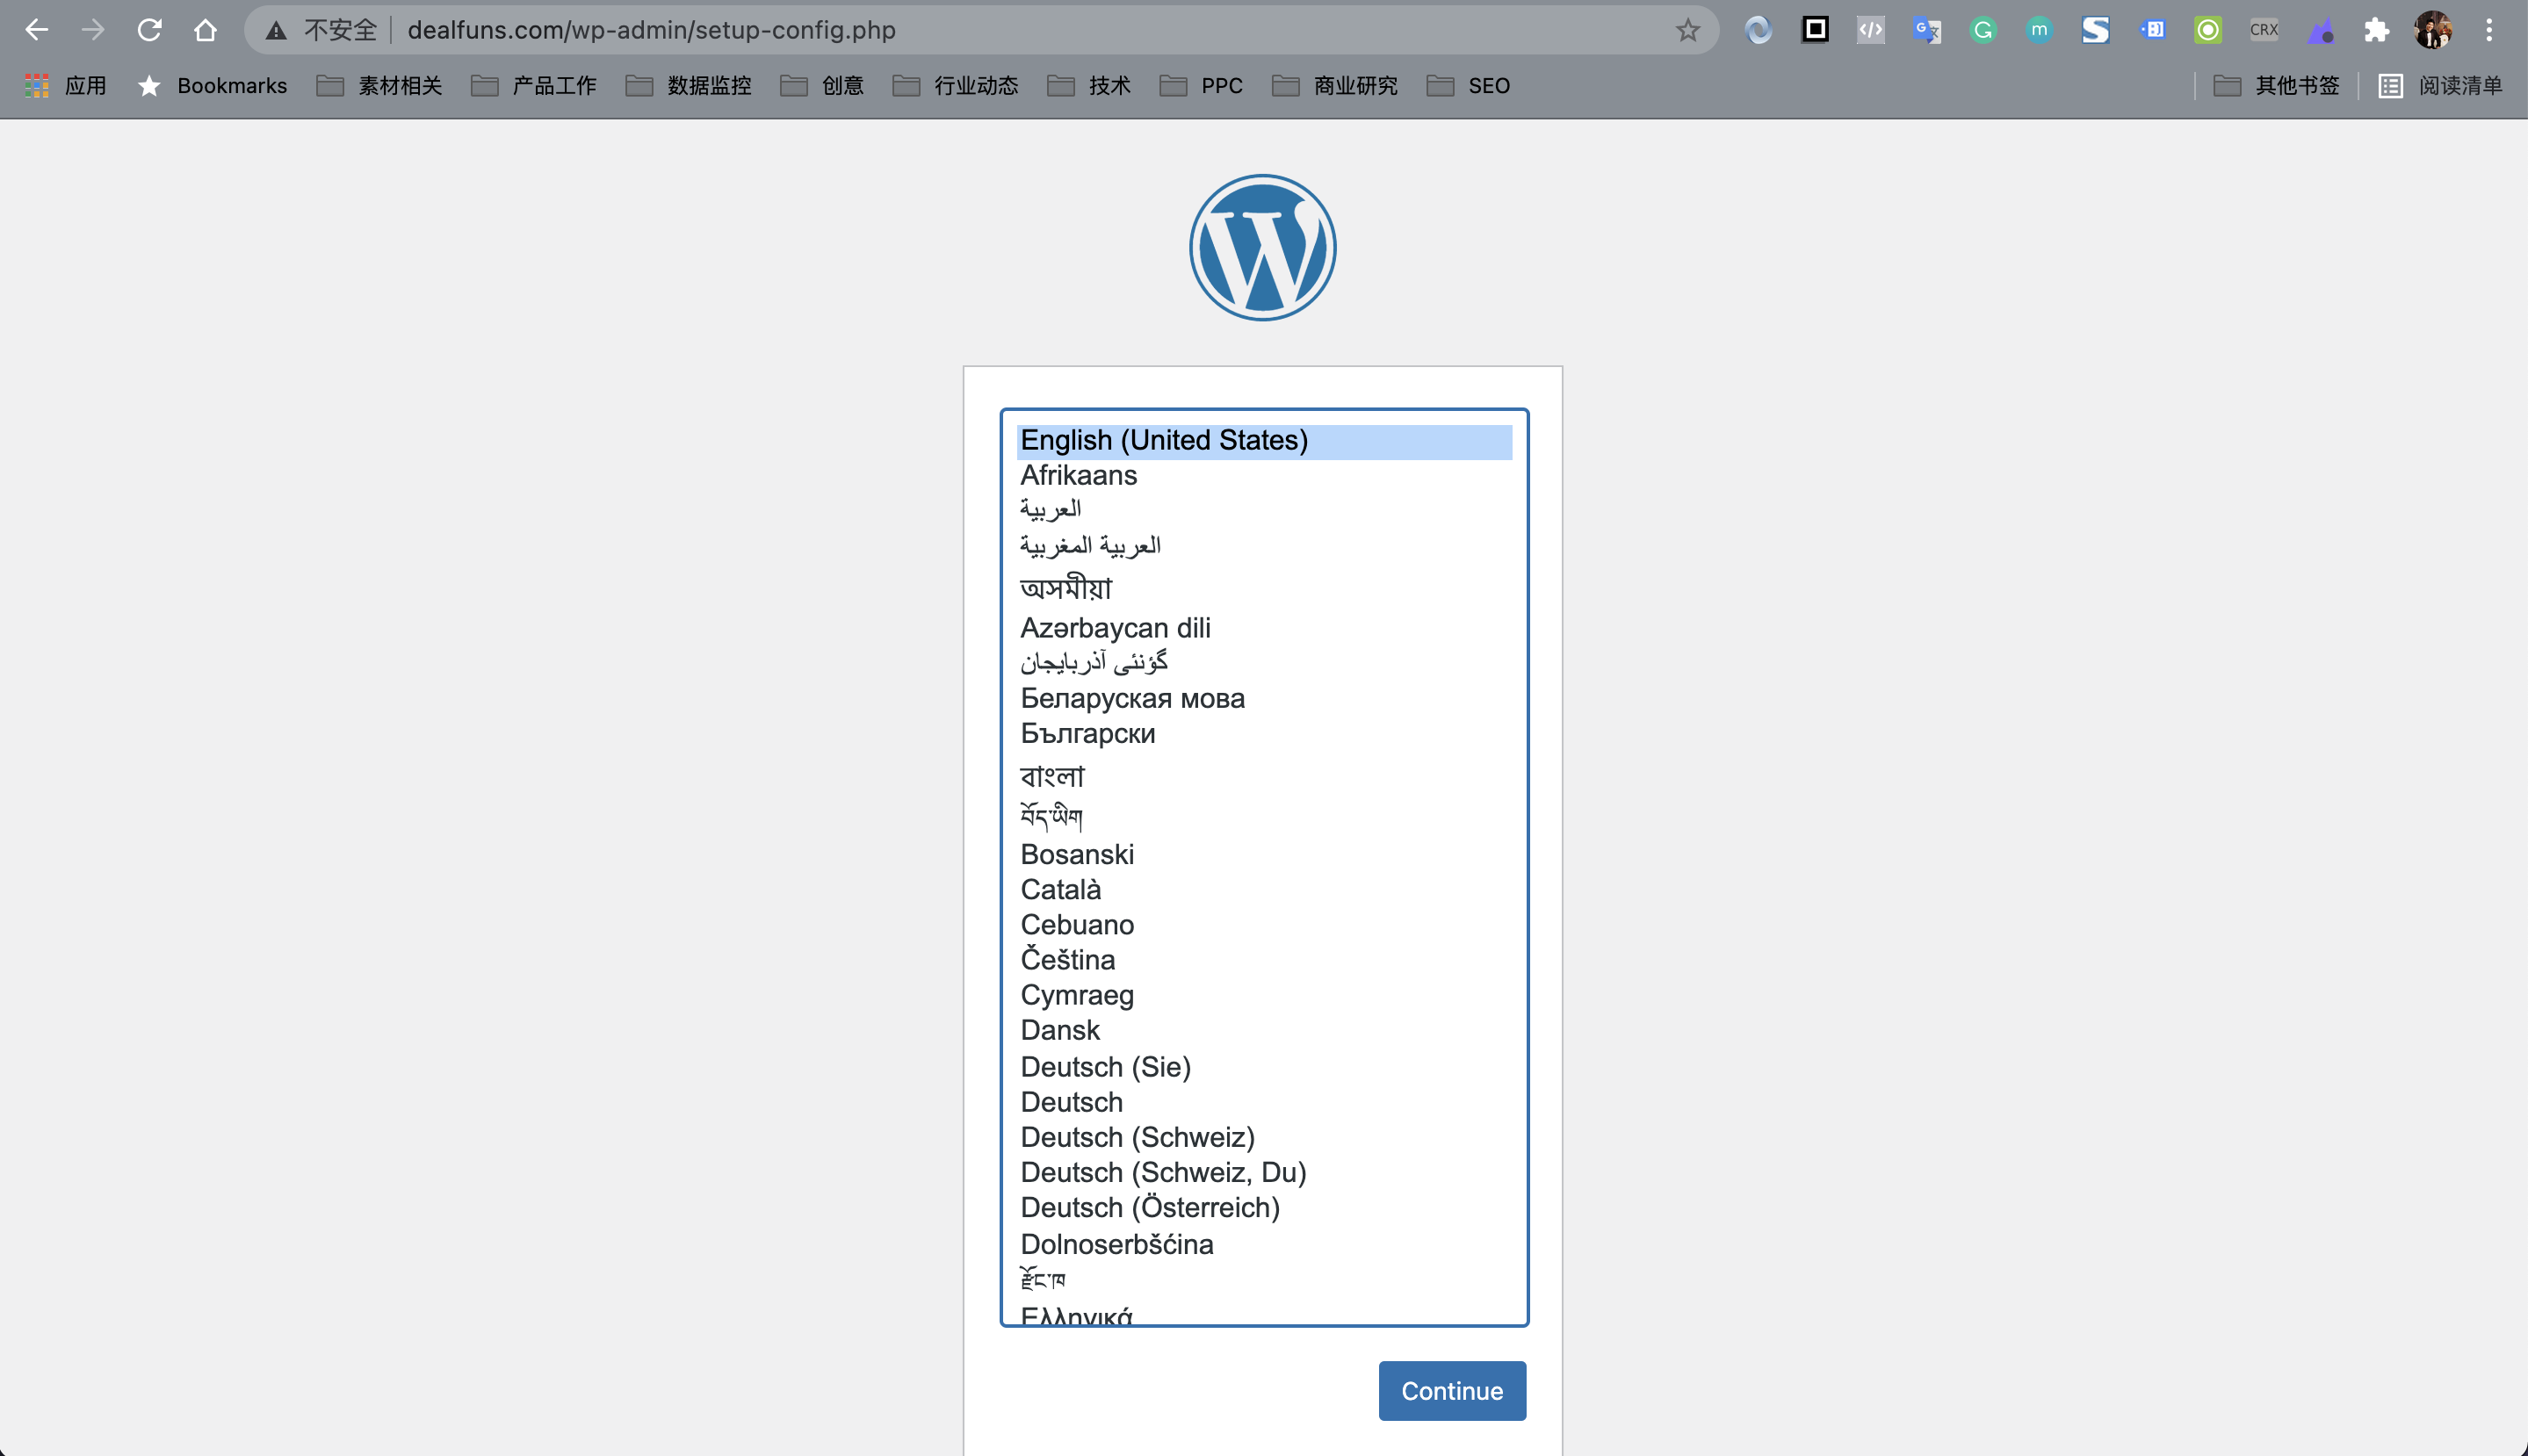
设置好相应的语言和数据库地址以及相关密码后,wordpress 就装好了。
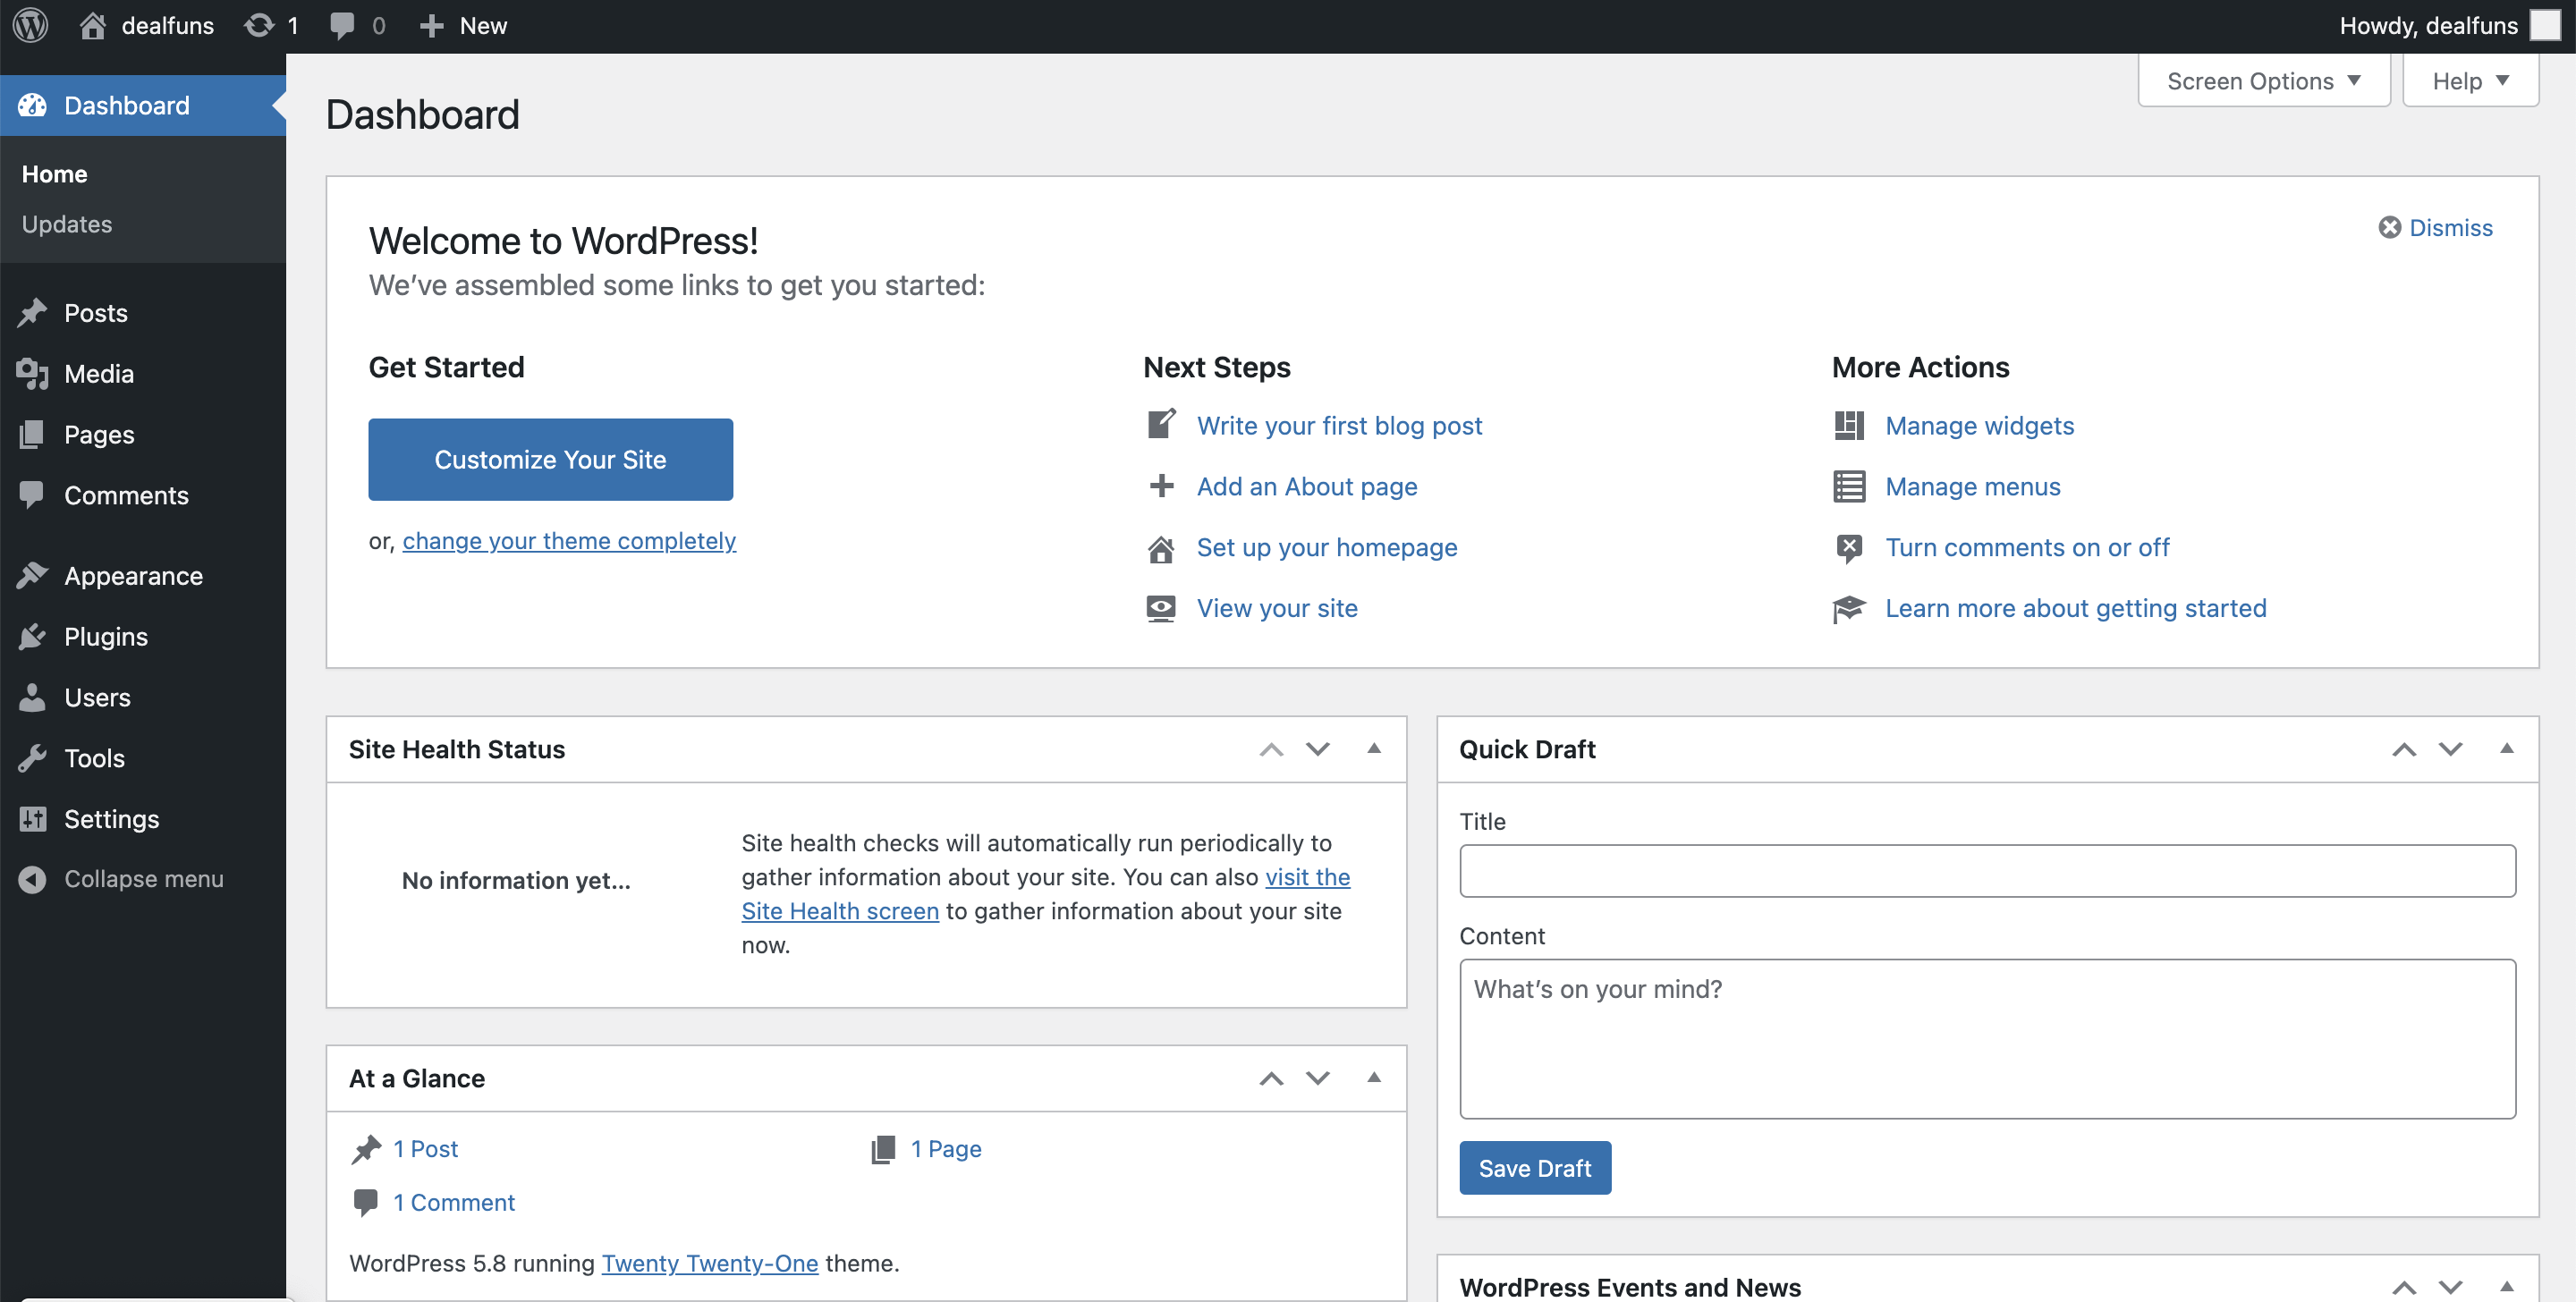
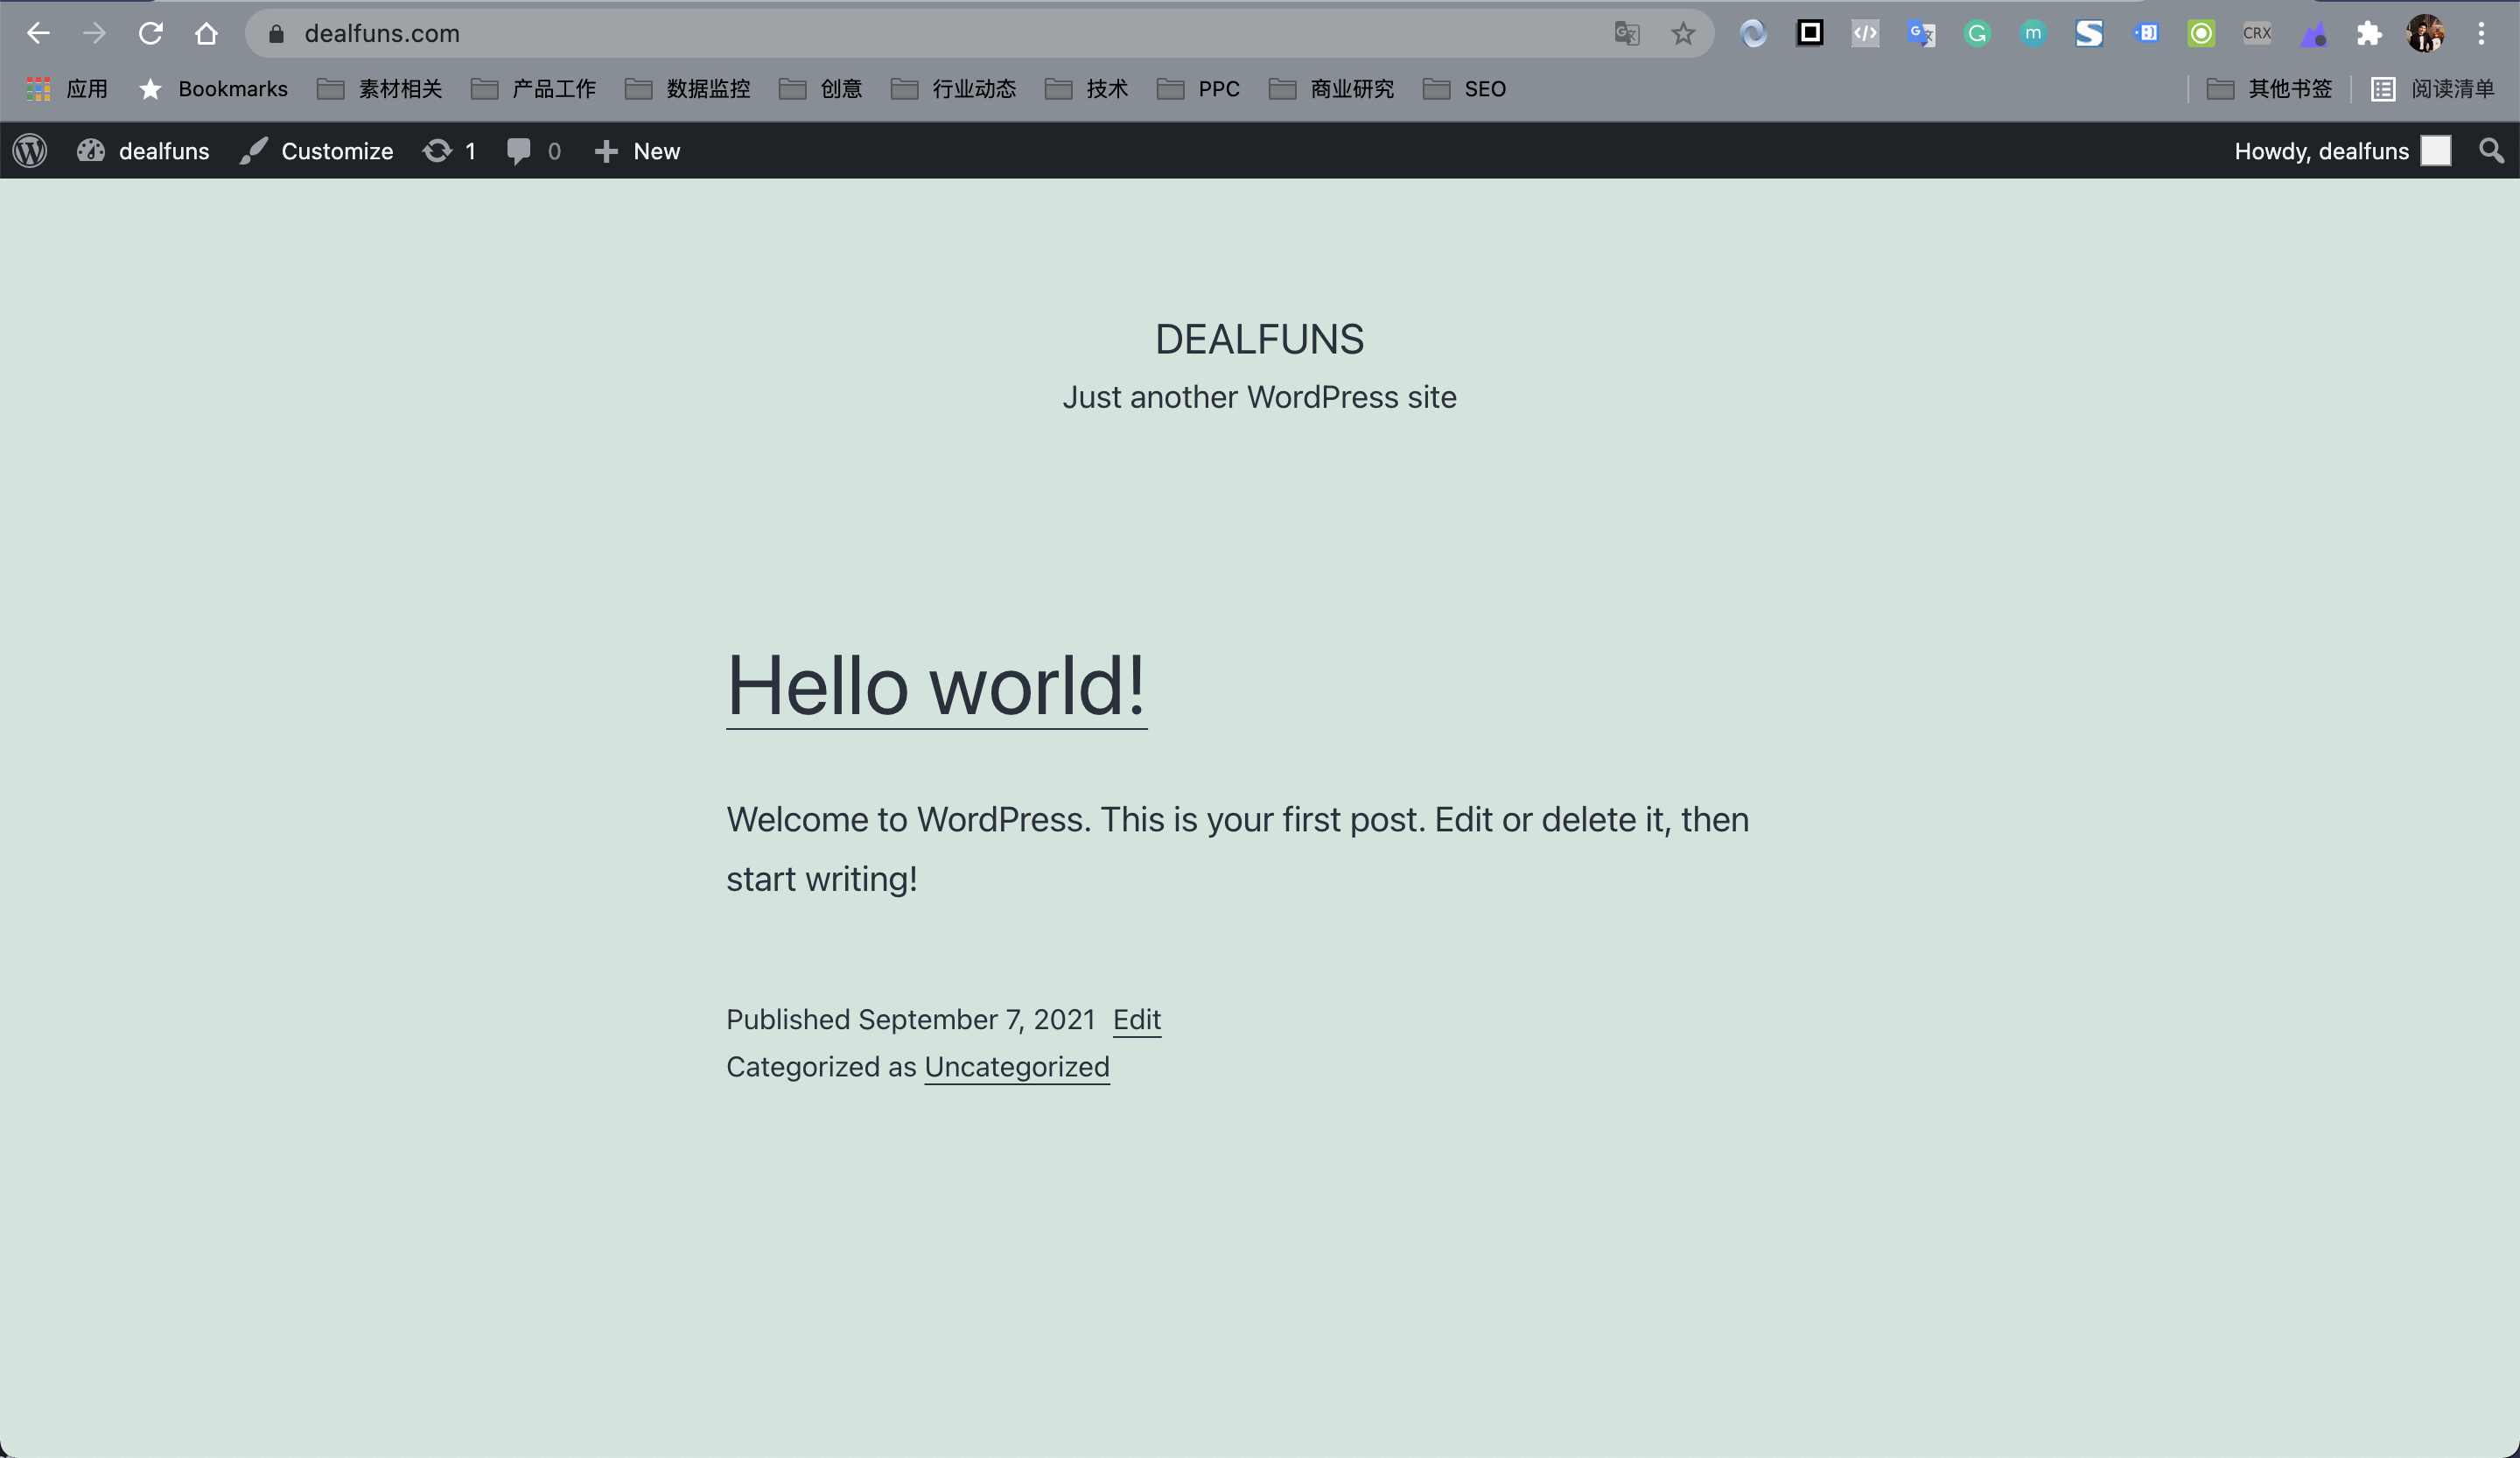
装好的WordPress 页面如下:
2.3 下面我们开始搞https 证书的事
首先我们要进到wordpress 容器里面。
root@iZrj9gb52c9au41thyk22oZ:~# docker ps
CONTAINER ID        IMAGE               COMMAND                  CREATED             STATUS              PORTS                                      NAMES
44e1f069560c        wordpress           "docker-entrypoint.s…"   10 minutes ago      Up 10 minutes       0.0.0.0:80->80/tcp, 0.0.0.0:443->443/tcp   dealfunswordpress
root@iZrj9gb52c9au41thyk22oZ:~# docker exec -t -i 44e1f069560c /bin/bash
加载apache的ssl模块
root@44e1f069560c:/var/www/html# a2enmod ssl
Considering dependency setenvif for ssl:
Module setenvif already enabled
Considering dependency mime for ssl:
Module mime already enabled
Considering dependency socache_shmcb for ssl:
Enabling module socache_shmcb.
Enabling module ssl.
See /usr/share/doc/apache2/README.Debian.gz on how to configure SSL and create self-signed certificates.
To activate the new configuration, you need to run:
  service apache2 restart
root@44e1f069560c:/var/www/html#
修改证书和私钥路径
执行如下代码:
root@44e1f069560c:/var/www/html# vim /etc/apache2/sites-available/default-ssl.conf
bash: vim: command not found
出现阿里云 docker 容器内 vim 无法使用的问题。
我们需要先升级apt,执行如下命令:
root@44e1f069560c:/var/www/html# apt update
Get:1 http://security.debian.org/debian-security bullseye-security InRelease [44.1 kB]
Get:2 http://security.debian.org/debian-security bullseye-security/main amd64 Packages [29.6 kB]
Get:3 http://deb.debian.org/debian bullseye InRelease [113 kB]
Get:4 http://deb.debian.org/debian bullseye-updates InRelease [36.8 kB]
Get:5 http://deb.debian.org/debian bullseye/main amd64 Packages [8178 kB]
Fetched 8401 kB in 1s (5670 kB/s)
Reading package lists... Done
Building dependency tree... Done
Reading state information... Done
All packages are up to date.
然后再安装vim
root@44e1f069560c:/var/www/html# apt install vim
Reading package lists... Done
Building dependency tree... Done
Reading state information... Done
再去编辑:default-ssl.conf
vim /etc/apache2/sites-available/default-ssl.conf
然后找到如下代码:
                #   A self-signed (snakeoil) certificate can be created by installing
                #   the ssl-cert package. See
                #   /usr/share/doc/apache2/README.Debian.gz for more info.
                #   If both key and certificate are stored in the same file, only the
                #   SSLCertificateFile directive is needed.
                SSLCertificateFile      /etc/ssl/certs/ssl-cert-snakeoil.pem
                SSLCertificateKeyFile /etc/ssl/private/ssl-cert-snakeoil.key
就是这里设置证书的地方,修改为如下代码:
SSLCertificateFile      /ssl/4627742_www.dealfuns.com_public.crt
SSLCertificateKeyFile /ssl/4627742_www.dealfuns.com.key
另外一个Chain的文件没有啥用。
让ssl配置被apache加载:
ln -s /etc/apache2/sites-available/default-ssl.conf /etc/apache2/sites-enabled/default-ssl.conf然后输入命令:exit 退出容器。
root@44e1f069560c:/var/www/html# ln -s /etc/apache2/sites-available/default-ssl.conf /etc/apache2/sites-enabled/default-ssl.conf
root@44e1f069560c:/var/www/html# exit
exit
root@iZrj9gb52c9au41thyk22oZ:~# docker ps
CONTAINER ID        IMAGE               COMMAND                  CREATED             STATUS              PORTS                                      NAMES
44e1f069560c        wordpress           "docker-entrypoint.s…"   23 minutes ago      Up 23 minutes       0.0.0.0:80->80/tcp, 0.0.0.0:443->443/tcp   dealfunswordpress
root@iZrj9gb52c9au41thyk22oZ:~# docker restart 44e1f069560c
44e1f069560c
root@iZrj9gb52c9au41thyk22oZ:~#
重启容器。
- 强制http请求转到https
编辑 /etc/apache2/sites-available/000-default.conf
修改 ServerName 为www.dealfuns.com
在/var/www/html 下面添加 如下代码
ServerName www.ssevening.com

        ServerAdmin webmaster@localhost
        DocumentRoot /var/www/html
        RewriteEngine On
        RewriteCond %{HTTPS} !=on
        RewriteRule ^/?(.*) https://%{SERVER_NAME}/$1 [R,L]
- 退出容器,并重新启动容器。
最后,想不想在一个网站搭建多个博客呢?
阿里云 ECS 服务器 通过 nginx域名分发 配置多个wordpress 博客
个人微信:ssevening
